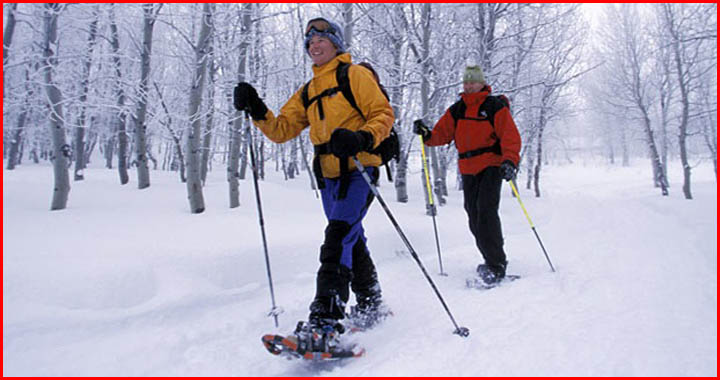
Nothing is really hard about snowshoeing. Everything is pretty much intuitive once you’re on the trailhead and strap those snowshoes of yours. After all, you just need to walk. Still, even the easiest sport needs some time before you can get used to it and enjoy it. 
This guide aims to shorten that time. We’re going to tell you a few basic techniques of snowshoeing as well as what to expect when you’re first out with your new snowshoes.
Kicking it Off
If you’ve never been on a snowshoe outing before, it’s a good idea to start it on flat terrain. With no tricky slopes to deal with, you can focus your effort on getting used to walking with snowshoes. Try to stretch your legs wide enough to keep each snowshoe from bumping to another. The average width of modern snowshoes is 7-8 inches. You’d probably feel awkward even difficult to walk, but with more steps you make, you’ll learn to do it more efficiently.
There’s no need to rush yourself when you’re just starting. Take your time to figure out the best way to walk comfortably, instead of covering more distance. Snowshoeing is more about slow, quiet, and peaceful walks rather than downright competition.
Taking on an Ascent
Once you feel the most comfortable with your snowshoes, it’s time to get the going uphill. You may need the assistance of your trekking poles for this, especially if the slopes are steep. With poles, the pressure on your knees and back can be eased out and distributed evenly throughout your upper body.
Depending on the snow conditions, you can try a couple of different methods to effectively tackle a slope. For soft and fresh powder, the kicking technique works well. Just lift your foot, and strike it hard on the toe against the slope. That will plant your forefoot into the snow, while leaving the snowshoe tails hanging, making it easier to repeat the process. The snowshoes with the best toe crampons are Tubbs Mountaineer.
Now if the snow is hardpacked, you won’t be able to do that. Kicking your snowshoes against hard crusty snow repetitively may damage the toe crampons. In this situation, you will have to walk normally. Take your time with each step. Make sure the traction device has secured your ground before making another step. If the slopes are too steep and you feel like slipping, try to look for different routes.
Anyway, if your snowshoes come with heel lifts, be sure to engage them when you’re ascending. They will provide support for your heel as you go uphill, thereby reducing the pressure on your calf muscle. Most intermediate and backcountry snowshoes have this feature.
Going Downhill
The downhill trip isn’t more difficult than uphill. You just need to trust your instinct and go with it. No need to stiffen up your body and legs. Keep it all relaxed and just flow with the pace. Your body will naturally tell you to shift the weight on the back and start each step with your heels instead of toes.
Almost all snowshoes today are equipped with heel crampons to provide ample traction on the descent. Some models like MSR Revo Explore don’t have this feature, but they offer molded brake bars that are less effective but still quite helpful. If the traction isn’t enough and you start slipping, quickly sit down on your bottom to stop the motion. Some backcountry snowshoes have very aggressive heel crampons that can keep you from falling no matter how steep the slope is.
Crossing the Slopes
Sometimes, you may run into slopes that simply are too steep to tackle. In this case, it’s more practical to walk across it, rather than insist on climbing over it. This technique is known as traversing; some people also call it side-hilling. Traversing is so much easier if your snowshoes are equipped with lateral crampons or side rails. These are lines of cleats extended on both sides of the snowshoes. The best one is MSR Lightning Ascent.
The main thing to keep in mind as you traverse a slope is to keep your balance. Push the upper side of both snowshoes into the slope until the lateral crampons are securely planted on the snow. Maintain your balance by keeping your weight on the upper side of the slopes. Remember that traversing is easier if you walk on the path made by someone in front of you. If you use poles, make sure you adjust the length properly; one is extended, and the other is shortened.
